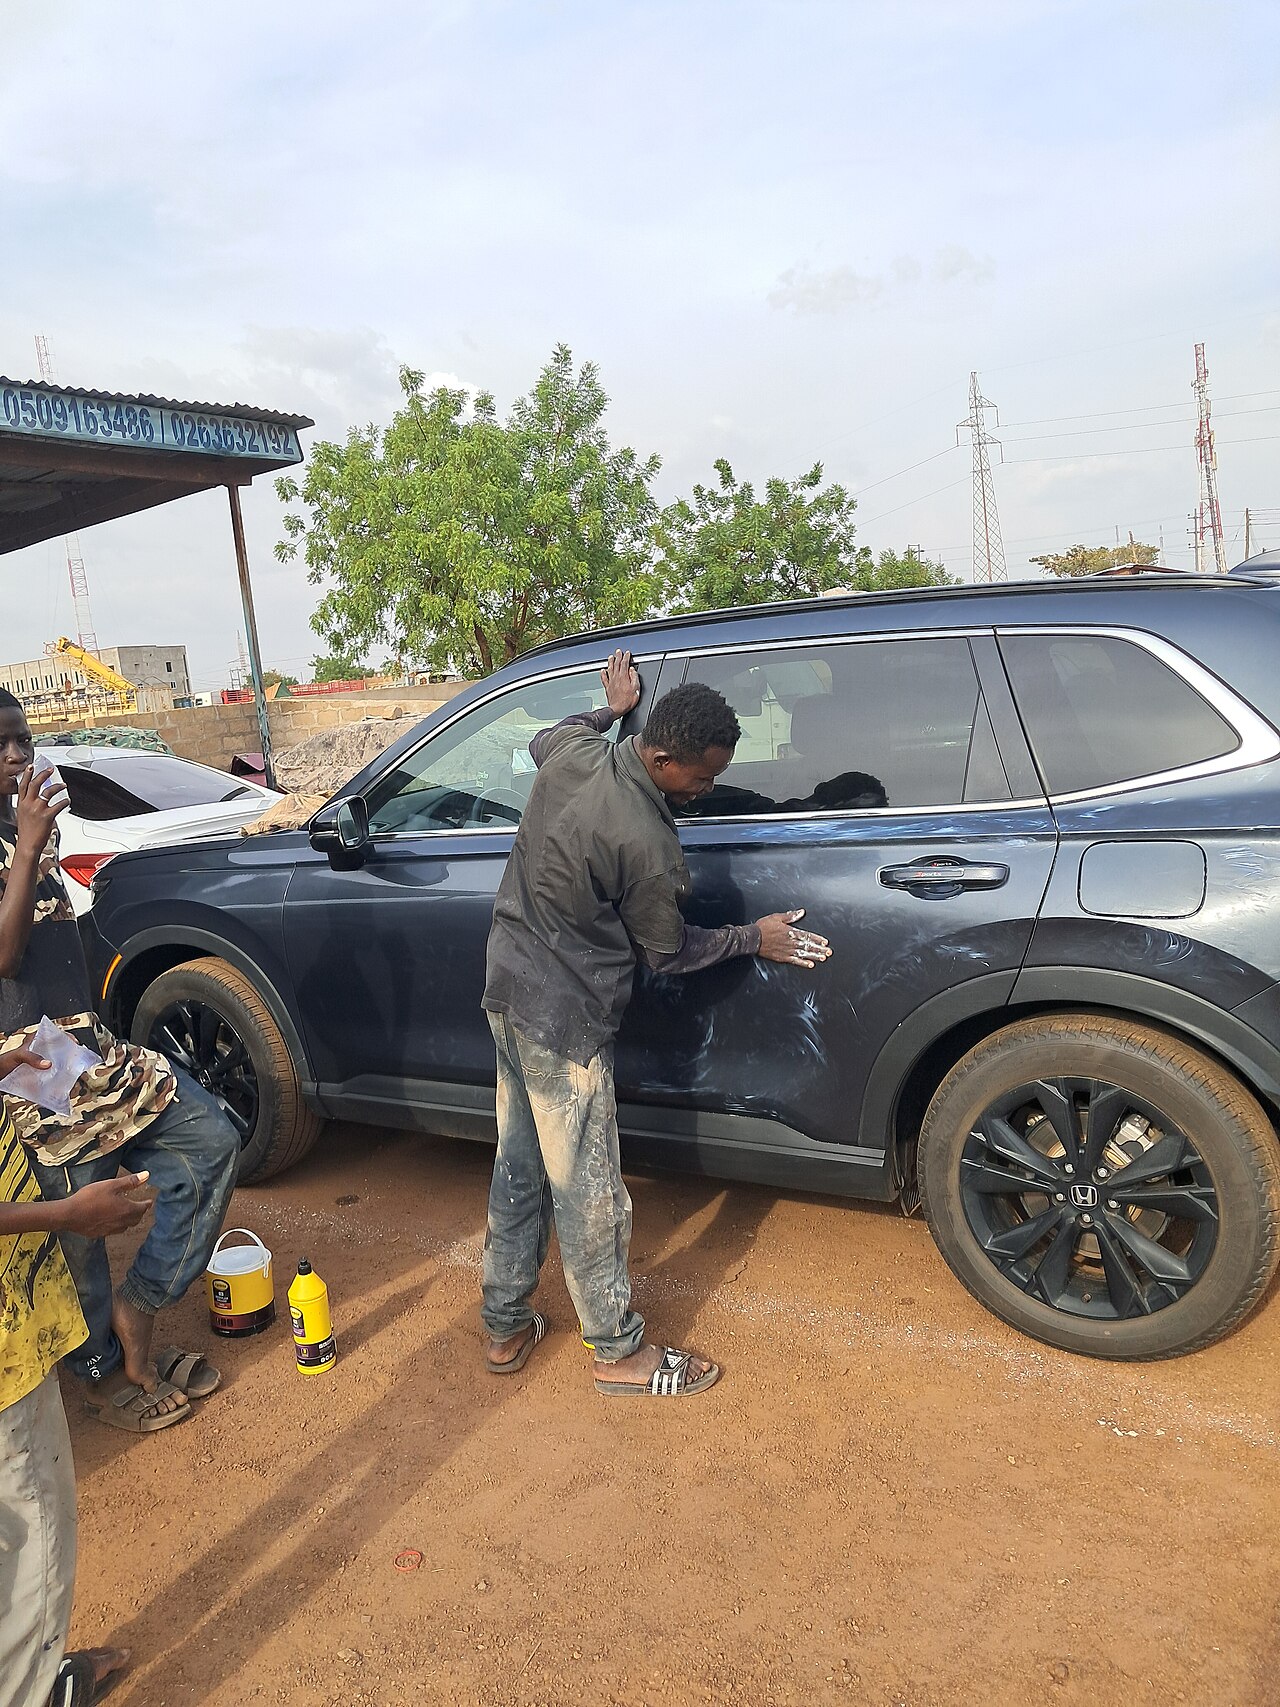

Key points in brief
- Polishing is a multi-stage process: clean the paint, apply polish, work it evenly, remove residues and then protect the surface.
- Work in the shade or in a well-ventilated hall whenever possible, and never on hot paint in direct sunlight.
- Apply polish thinly and work in small sections so you can monitor progress.
- Use clean, soft cloths and change them regularly so that no dirt gets back onto the paint.
- For deep scratches, unclear paint condition or uncertainty, a professional workshop is the safer choice.
Verified test results
- We currently have no verified test results from independent publishers on this topic. As soon as published tests exist, we will add them here with their source.
Preparation: clean and inspect the paint
Before you start polishing, the paint must be thoroughly cleaned. Dust, flower pollen, insect remains and road dirt act like abrasives during polishing and can leave fine scratches. Therefore first wash the vehicle by hand or in a suitable car wash and dry it carefully. Pay particular attention to edges, seams, door handles and the area below the windows, because dirt collects there.
Then inspect the paint in good light. A bright lamp held at an angle over the surface is helpful. This lets you identify dull areas, fine scratches, paint chips and areas where primer or plastic is already visible. You should not simply polish over such damaged areas. If you are unsure whether the paint is still thick enough, ask at a professional workshop. You can find more on classifying care products in the Paint care category.
Remove stubborn residues such as tar or insect remains before polishing with a suitable cleaner. Then wipe the treated areas with clear water. In the end, the paint should be clean, dry and cool.
The right environment and equipment
Polishing requires a clean environment. Wind, dust and direct sun make the work more difficult. A hall or a covered place in the shade is ideal. The paint should not be hot; after a drive in the sun, it first needs to cool down. Prepare all aids beforehand so you do not have to search for them during the work.
Basic equipment includes polish, suitable polishing sponges or pads, clean microfiber cloths, masking tape for plastic and rubber edges, and a bright lamp. If you work with a machine, add machine polish, suitable pads and a suitable device. For hand polishing, a soft sponge and a dry cloth are sufficient.
| Criterion | Hand polishing | Machine polishing |
|---|---|---|
| Control | high, you feel the pressure directly | requires practice and even guidance |
| Time required | higher | lower on large areas |
| Risk | lower with careful work | higher with too much pressure or wrong speed |
| Application | small areas, individual spots | large areas, even treatment |
Step by step: polishing a car
1. Prepare the paint
Mask off sensitive plastic and rubber parts if they should not come into contact with polish. Then work one small section after another, for example half a hood or one door. This keeps the area manageable and lets you assess the result better.
2. Apply polish
Put a small amount of polish on the sponge or pad. Apply it thinly and evenly to the area to be treated. Less is more here: a layer that is too thick makes the work more difficult and is harder to polish out. Do not work over edges and gaps where polish can collect.
3. Polish
Work the surface with even movements. For hand polishing, work in small circles or straight passes, depending on the product and instructions. With a machine, guide the device slowly and without strong pressure over the paint. Do not let the polish dry. If it starts to set, the section is too large or the amount is too high.
The Car polish guide explains how to classify polishes and what to look for when buying.
4. Remove residues
Take a clean, soft cloth and wipe off the polish residues. Change the cloth as soon as it becomes saturated with polish. Then check the surface under angled light. If residues sit in crevices, remove them carefully with a soft brush or a damp cloth without scrubbing the paint.
5. Apply protection
After polishing, the paint is more sensitive than before. Therefore apply a protection that suits the paint and the vehicle. This can be a wax, a sealant or another protective product. Here too, work according to the manufacturer's instructions and in small sections. You can read how to classify a sealant in the Ceramic coating guide.
Overview of polish types
Polishes differ in their effect. The following categories help you choose the right product for your paint condition. The classification is general; the manufacturer's information and the condition of your vehicle are always decisive.
| Polish type | Typical application | Advantage | Disadvantage |
|---|---|---|---|
| Cleaning polish | dull, weathered paints | removes surface residues | less gloss than a finishing polish |
| Abrasive polish | more noticeable unevenness | can achieve more | requires experience and caution |
| Finishing polish | fresh paint, final finish | fine result, good control | little effect on deeper areas |
| Hand polish | small areas, individual spots | easy to dose | takes longer on large areas |
Common mistakes when polishing
- Applying too much polish at once. This makes the layer thick and difficult to work out.
- Polishing in the sun or on hot paint. The polish dries too quickly and cannot be spread evenly.
- Leaving dirt or coarse particles on the paint. They act like sandpaper during polishing.
- Applying too much pressure with the machine. This increases the risk of overheating the paint or treating it unevenly.
- Not applying protection after polishing. The paint then remains more sensitive to environmental influences.
- Neglecting edges and seams or working too aggressively there. Paint is often thinner especially at edges.
Safety and health
Wear gloves while working and ensure ventilation, especially in closed rooms. Avoid getting polish in your eyes; in case of splashes, rinse thoroughly with clear water. Keep products out of the reach of children and observe the information on the label. Dispose of used cloths and residues as specified by the manufacturer or local waste disposal. Do not work on hot surfaces and do not smoke near solvents.
Frequently asked questions
How often should I polish my car?
This depends on the paint condition, use and care. If the paint looks dull or feels rough, polishing can be useful. Frequent polishing is not automatically better, because every polishing process stresses the paint. Observe the surface and prefer to work specifically on individual spots.
Can I polish with a machine?
Yes, if you have control of the machine and use the right pads and polishes. First practice on an inconspicuous spot and keep the machine moving. Too much pressure or too high a speed can damage the paint. If you are unsure, start with hand polishing.
What should I do about deep scratches?
Deep scratches where the primer or plastic is visible cannot simply be polished out. Such areas should be treated professionally. Before polishing, consider whether paint repair is necessary. This prevents you from working the area further and enlarging the damage.
Which temperature is ideal?
Work at moderate temperatures and in the shade. The paint should not feel hot. In cold conditions, the polish can be thicker and harder to spread; in high heat, it dries faster. A cool, dry and wind-protected place is best suited.
Do I need to seal after polishing?
It is advisable to protect the paint after polishing. A sealant or a wax forms an additional layer and can preserve the gloss longer. Which product is suitable depends on the vehicle, the paint and your preferences. Observe the manufacturer's information on application and layer thickness.
How should I store polish?
Store polish closed, frost-free and away from direct sunlight. Pay attention to the expiry date and to changes such as odor or consistency. If a product has dried out or become contaminated, do not continue using it. Clean sponges and pads thoroughly after work and dry them before using them again.