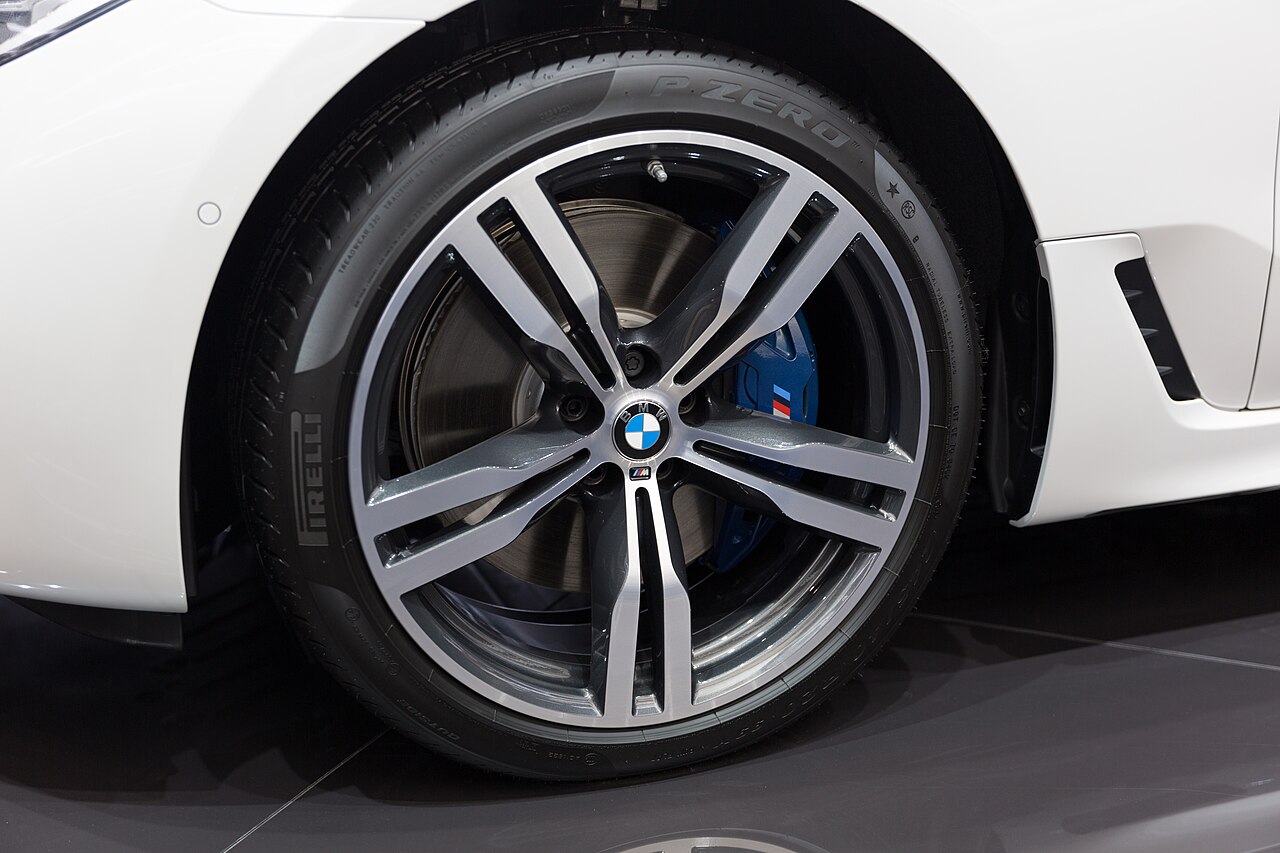

Cleaning rims: what matters
Rims are heavily stressed in everyday use: brake dust, road dirt, gravel and in winter road salt become stuck to the surface. Regular cleaning removes these residues before they bake in, and gives you the opportunity to spot small paint damage or curb scratches early. On this page you will find a general guide that you can apply to painted, polished and coated rims. For an overview of the topic, go to the category Rims and tyres. If you are interested in the different cleaner groups, you will find an assessment in the guide to wheel cleaners.
Why regular rim cleaning makes sense
Brake dust is not only visually unpleasant. It can combine with water and dirt to form a hard crust that becomes difficult to remove over time. Anyone who also cleans the rims with every vehicle wash prevents new layers from constantly forming. At the same time, when cleaning you can see whether the rim is damaged, whether a valve seems to be leaking or whether a brake pad is wearing unusually heavily. Cleaning does not replace an inspection, but it makes abnormalities visible earlier.
A gentle process is important. Aggressive products and hard brushes can attack paint, clear coat or coatings. Therefore: clean more often and more mildly rather than rarely and with great mechanical force.
Verified test results
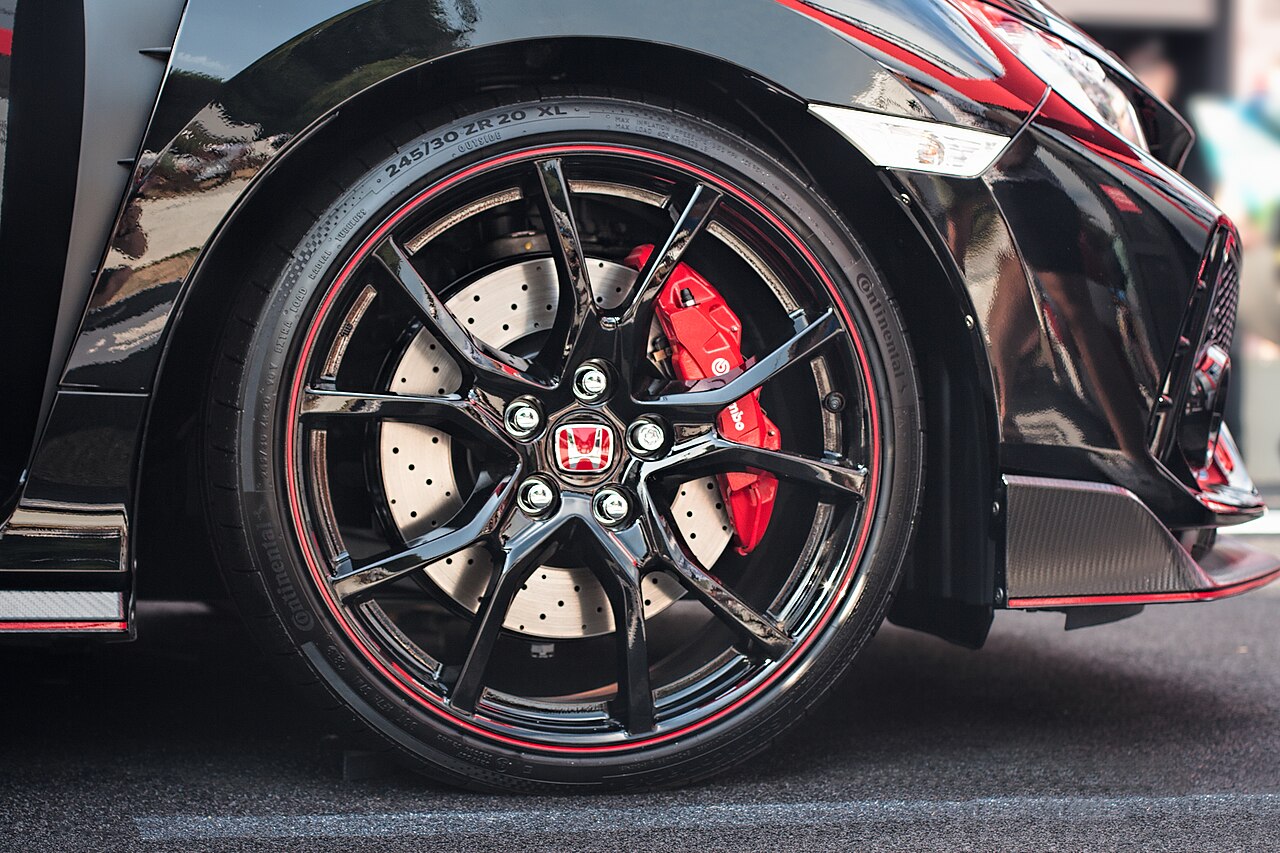
- We currently have no verified test results from independent publishers on this topic. As soon as published tests exist, we will add them here with their source.
Preparation: vehicle, rims and workplace
Let rims cool down
Do not start immediately after a longer drive. Hot rims can make cleaner dry faster, and working on hot components carries a risk of burns. Leave the vehicle standing until the rims are lukewarm or cold. Work in the shade if possible and not in direct sunlight, so that the cleaner does not dry out prematurely.
Pre-loosen coarse dirt
Rinse the rims first with plenty of water. This removes loose sand, gravel and coarse road dirt. If you go directly onto dry rims with a brush, grains of sand can act like sandpaper. A soft water jet and a brief rinse are the simplest preparation.
Have tools ready
Lay out everything before you start: a suitable rim cleaner, a soft rim brush, a sponge or a soft cloth, a bucket with clear water and a dry microfibre cloth. For hard-to-reach places, a narrow brush can help. Avoid wire brushes, hard blades or scouring agents if you do not know the surface.
The right order when cleaning rims
| Work step | Goal | What to watch out for |
|---|---|---|
| Let cool down | Avoid burns and rapid drying | Do not start after a longer drive |
| Rinse off coarse dirt | Avoid scratches from sand and stones | Work with plenty of water, do not wipe dry |
| Apply cleaner | Loosen dirt | Observe manufacturer's instructions on mixture and contact time |
| Clean mechanically | Loosen stuck-on deposits | Soft brushes, no hard blades |
| Rinse thoroughly | Remove cleaner residues | Also rinse the wheel arch and brake caliper area |
| Dry | Avoid water spots | Clean cloth, not on hot rims |
The order is deliberately kept simple. In practice, you can adapt it to the degree of soiling. For light soiling, a mild cleaner and a soft brush are often enough. For heavy brake dust, you need more contact time, but not more pressure.
Cleaner types at a glance
| Cleaner type | Typical use | Caution |
|---|---|---|
| Acid-free rim cleaner | Regular cleaning and light to medium soiling | Observe contact time, do not let it dry |
| Acid-containing rim cleaner | Heavy soiling and stubborn brake dust | Check material compatibility, observe manufacturer's instructions |
| pH-neutral cleaner | Sensitive or coated surfaces | Less aggressive, but possibly longer contact time |
The classification helps with selection, but does not replace the information on the product. Every rim can be coated differently. For painted, polished, forged or ceramic-coated rims, the manufacturer's instructions are particularly important. In case of doubt, test a new product first on an inconspicuous spot.
Brushes, sponges and cloths
You do not need a lot of equipment for rim cleaning. A soft rim brush with a long handle reaches the rim bed and the spaces between the spokes. A sponge or a soft cloth is suitable for the outer surfaces. For the wheel bolts and tight gaps, a small brush can help. It is important that the bristles are soft enough and do not have sharp edges.
Work separately: if possible, use separate brushes and cloths for rims and not the same ones you use to wash the paint. This prevents brake dust and sand from getting into the paint washing area. After cleaning, rinse the brushes thoroughly and leave them to dry.
Step by step: cleaning rims
1. Rinse rims thoroughly
Rinse each rim with clear water. Work from top to bottom so that the dirt can run off. This removes the coarsest part before you apply cleaner.
2. Apply cleaner
Apply the cleaner according to the manufacturer's instructions. Spray or brush it evenly onto the rim. Make sure that you do not use too much product and that it does not get onto brake discs or other sensitive components. The manufacturer's instructions on contact time are important: too short and the cleaner does not work, too long and it can dry on.
3. Leave to work
Leave the cleaner to work for the specified time. During this time it loosens dirt and brake dust. Do not start with the brush immediately, otherwise you take away the product's chance to work. If the cleaner dries on, moisten the area again or rinse it off and start again.
4. Clean mechanically
Take a soft brush and work from the inside out. Brush the rim bed, the spokes and the transitions. Do not apply strong pressure. It is better to loosen stuck-on areas with a second contact time than by scrubbing hard. For tight areas, you can use a small brush.
5. Rinse thoroughly
Rinse the rim thoroughly with clear water. Also remove cleaner residues from the rim bed and from the gaps. If you only rinse the rim superficially, residues can remain and cause stains.
6. Dry
Dry the rim with a clean microfibre cloth. Do not work on hot rims, otherwise the water evaporates quickly and leaves water spots. If you want to seal the rim afterwards, follow the manufacturer's instructions for the care product.
Safety and material protection
Work with gloves if the cleaner can cause skin contact. Read the safety instructions on the product and ventilate the work area if you are working in a garage. Avoid contact with eyes and respiratory tract. Keep cleaners out of the reach of children and dispose of residues according to local regulations.
For material protection: no hard brushes, no sharp objects and no scouring agents. For unknown rim surfaces, test a product first on a small, inconspicuous spot. If the surface becomes dull or the clear coat changes, stop and rinse thoroughly with water.
Common mistakes
- Cleaning the rim while hot and letting the cleaner dry on.
- Going over sandy rims with the brush while dry.
- Applying too much pressure to painted or polished surfaces.
- Leaving cleaner to work for too long without observing the manufacturer's instructions.
- Treating rims and paint with the same brushes and cloths.
- Not rinsing thoroughly enough after cleaning.
Frequently asked questions
How often should I clean rims?
Every vehicle wash is a good opportunity. With heavy brake dust or in winter, more frequent cleaning can make sense. The decisive thing is that no thick layers form.
Can I use rim cleaner on all rim types?
Not without checking. The manufacturer's instructions on material compatibility are decisive. For painted, polished or coated rims, proceed particularly carefully and, in case of doubt, test on an inconspicuous spot.
Why should I not clean rims while hot?
Hot rims make cleaner dry faster. This can cause stains and make the contact time uncontrollable. In addition, working on hot components carries a risk of burns.
Which brush is suitable for rims?
A soft rim brush with a long handle is a good choice. For tight areas, a small brush can help. Hard wire brushes or sharp blades do not belong on the rim.
What helps against stubborn brake dust?
Leave the cleaner to work according to the manufacturer's instructions and use a soft brush. If necessary, repeat the process. Avoid scrubbing with force.
Do I have to seal rims after cleaning?
That is optional. A sealant can protect the surface and make the next cleaning easier. The manufacturer's instructions and a clean, dry surface are important.