
Key points at a glance
- Hand washing needs little technique, but a clear order: first soak, then wash, rinse and dry.
- Two buckets – one with shampoo solution, one with clear water – keep dirt away from the paint.
- Work from top to bottom and never on hot paint in direct sunlight.
- Wheels and tires come first, glass and details last.
- Soft microfiber cloths and a clean wash mitt are more important than expensive accessories.
Verified test results
- We currently have no verified test results from independent publishers on this topic. As soon as published tests exist, we will add them here with their source.
Why hand washing is worth it
With hand washing, you decide which products reach the paint, how much pressure is applied and when which area is cleaned. This exact control is missing from machine methods: there, brushes or textiles work with a fixed program over the entire vehicle surface. For dark paints, fresh sealants, wraps and vehicles with many creases and edges, hand washing is therefore the gentler choice.
The effort is limited when the equipment is ready and the process is right. Most of the time is not spent on washing itself, but on preparation and drying.
What you prepare before starting
| Equipment | What you need it for |
|---|---|
| Two buckets | One for the shampoo solution, one for clear rinse water to rinse out the mitt |
| Car shampoo | Loosens dirt and provides lubricity on the surface |
| Wash mitt or soft sponge | Picks up dirt without scrubbing the paint |
| Wheel brush | Reaches the wheel spokes and brake caliper areas |
| Microfiber cloths | For drying, glass and details |
| Garden hose or water canister | For soaking and rinsing |
A bucket with a dirt trap at the bottom is helpful but not essential: it keeps settled particles from getting back into the wash solution.
The right time and place
Washing needs planning. On hot paint, water evaporates too quickly, shampoo dries on and leaves edges. A place in the shade or under an overcast sky is favorable, ideally in the early morning or in the evening. After a longer drive, the vehicle should cool down before water and shampoo reach the surfaces.
The surface also matters: on sand or gravel, every splash of water stirs up new particles. A paved, ideally level location is the better choice.
Washing your car correctly: the process step by step
Step 1: Soak coarse dirt
Rinse the vehicle from top to bottom with clear water. The goal is not to remove everything, but to loosen the loose film of dust, flower remnants and road dirt. With heavy dirt or insect remains, it helps to keep the surfaces damp for a few minutes instead of immediately working with the mitt.
Step 2: Wheels and tires first
Clean the wheels while the paint is still wet but untouched. Work into the spokes with a wheel brush and rinse generously so that brake dust and cleaner do not reach the bodywork. Tires and wheel arches are also included in this step. For wheel cleaning itself, there is a separate guide with notes on acid-free and acidic cleaners.
Step 3: Wash from top to bottom
Start at the roof and work down over the hood, rear and sides. Dip the mitt into the shampoo solution, wash a manageable section and then rinse the mitt in the clear bucket before picking up shampoo again. This keeps coarse dirt in the rinse bucket and not on the paint.
Work in straight lines instead of circles and do not apply pressure: the mitt should guide, not scrub. Particularly dirty areas such as sills, wheel arches and the lower door edge come last so that the mitt does not then touch clean areas again.
Step 4: Rinse
Rinse the vehicle thoroughly from top to bottom until no shampoo residues are visible. This step also helps determine whether water spots form. Work quickly so that the surfaces do not dry out, and rinse section by section if you cannot manage the whole vehicle at once.
Step 5: Dry
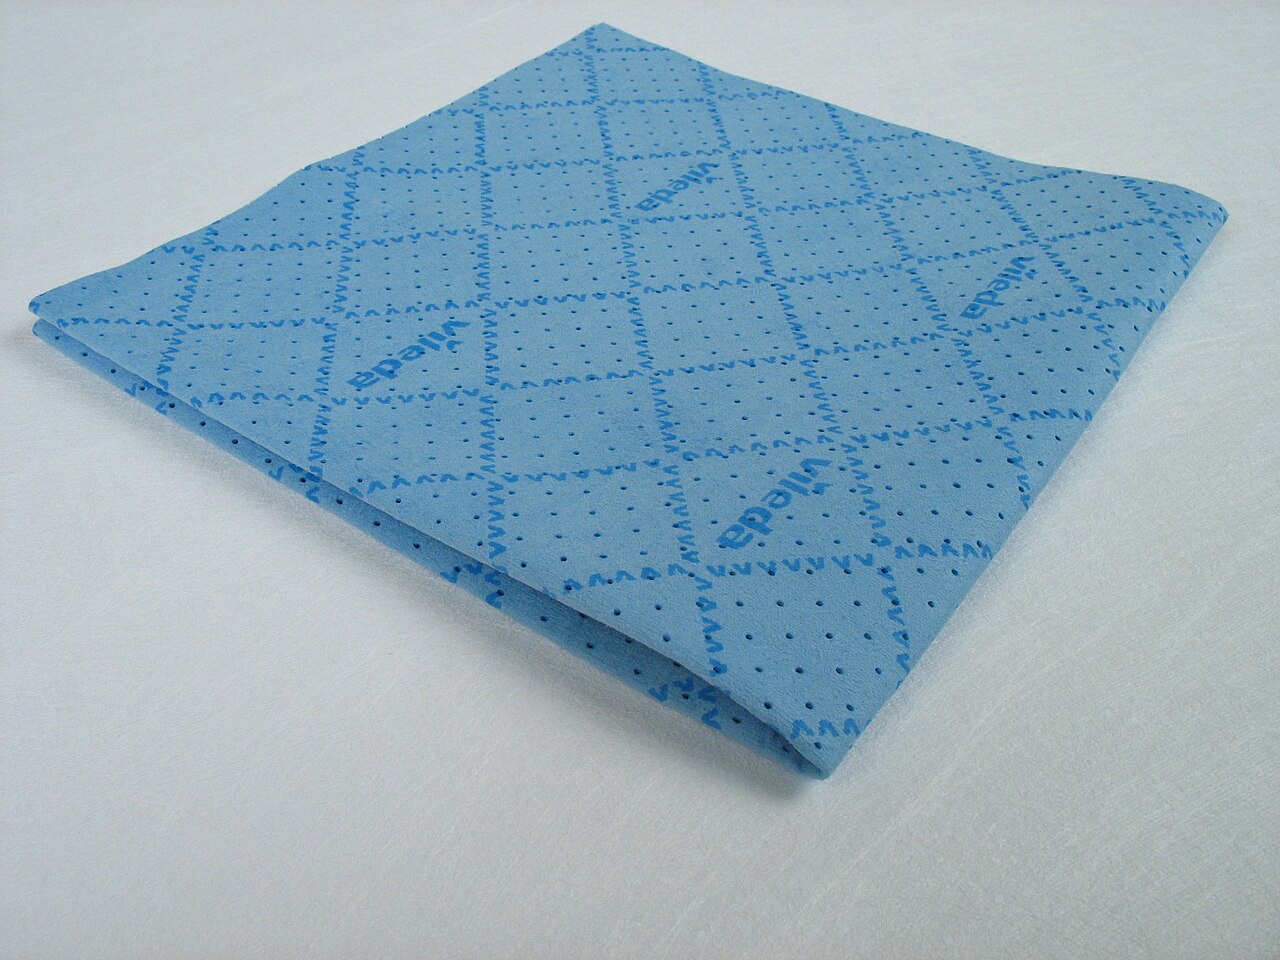
Absorb the water with a clean, absorbent microfiber cloth instead of pushing it around. Lay the cloth flat and pull it over the surface without pressure; turn or replace it as soon as it is saturated. Larger drying towels are practical for large areas, while smaller cloths are suitable for edges, mirrors and gaps. Details on the material and care are in the article on drying towels.
Step 6: Glass and details
Finally come windows, wiper rubbers, door seams, fuel filler flap and grille. For glass, use a separate cloth so that no wax or shampoo residues remain as streaks. Dry door seams and gaps with a small cloth or a soft brush so that no water remains there.
Typical mistakes in hand washing
- Washing in the sun: Drying droplets and shampoo residues leave edges that can only be removed with rework.
- Starting with the mitt without soaking: The loose dirt is pulled across the surface and acts like sandpaper.
- One bucket for everything: Without rinse water, the dirt picked up migrates back into the wash solution.
- Circular movements with pressure: They leave traces that later show up as fine scratches.
- Household cloths or scouring sponges: They are too harsh for painted surfaces.
- Wheels last: The spray mist from wheel cleaning then lands on areas that have already been washed.
- Not drying: Evaporating water leaves limescale marks, especially with hard water.
After washing: protection and care
A wash removes dirt, but it does not protect the paint permanently. Regular washing keeps the surface clean enough that a protective layer lasts longer. For the question of whether you want to wax, seal or polish afterwards, it is worth looking at the paint care guides: polish removes fine traces, wax and sealant apply a new protective layer over them.
If you are torn between machine methods and hand washing, you will find the differences in the comparison of car wash and wash tunnel. The category page Car washing provides an overview of shampoo, foam and drying.
Frequently asked questions
How much water do I need for a hand wash?
That depends on vehicle size, dirt and method. With one bucket of shampoo solution and clear rinse water, you can manage a normally dirty passenger car; for rinsing, a hose or several canisters make sense.
Can I use dish soap?
We advise against it. Dish soap is designed for dishes and grease, car shampoo for painted surfaces and existing protective layers. For regular washing, a shampoo is the more suitable choice.
What should I do about bird droppings or insect remains?
Do not wipe dry. Soak the area with plenty of water, loosen it carefully and rinse afterwards. Dry scraping or scrubbing works the particles into the clear coat.
Does the car need to cool down before washing?
Yes, that is recommended. On hot surfaces, water dries quickly, shampoo can dry on and leave edges. Wait some time after driving or wash in the shade.
How often should I wash?
That depends on weather, location and use. After road salt, bird droppings or insect remains, a wash soon makes sense; in dry weather and with a garage, longer intervals suffice.
What can I do if I do not have a hose?
Work with canisters and wash section by section: soak, wash, rinse and dry each area. It is important that no shampoo dries before you rinse.